
What Do You Need for a Bearded Dragon? The Complete Beginner’s Setup Guide
Published on: February 13, 2026 | Last Updated: February 13, 2026
Written By: Beardie Joe
Getting your first bearded dragon is an exciting step, but figuring out the exact supplies can be confusing and a little intimidating.
I’ve personally raised several of these wonderful reptiles, and with my background in reptile care, I’ll help you build a safe and comfortable home for your new pet.
This guide will walk you through the essential habitat setup, from the perfect enclosure and lighting to the best substrate and feeding tools.
The Core Habitat: Your Bearded Dragon’s Enclosure
Choosing the Right Tank Size and Type
Think of the tank as your dragon’s entire world. It’s where they will eat, sleep, explore, and bask. Getting this foundation right is the single most important thing you can do for their long-term health and happiness.
I learned this the hard way with my first dragon, Spike. I started him in a smaller tank, thinking it was fine for a baby. He quickly outgrew it, and I saw a noticeable change in his activity and mood once I upgraded him to a proper adult-sized home. They use every inch of space you give them.
Here is the size guide I follow for my dragons:
- Baby/Juvenile (up to 10-12 inches): A 40-gallon breeder tank is the absolute minimum. It gives them room to grow while they’re small and speedy.
- Adult (over 12 inches): This is non-negotiable. You need a 120-gallon (4x2x2 feet) enclosure. This provides the necessary floor space for them to run, turn around, and exhibit natural behaviors.
For tank type, a front-opening glass terrarium is my top recommendation. Opening from the front is less stressful for your dragon than a top-opening screen lid, which can feel like a predator swooping in from above. The glass holds heat well, and the front doors make feeding and cleaning a breeze.
Just ensure the screen top is metal, not plastic, to withstand the intense heat from your basking lamp.
Creating Perfect Heat and Light
Bearded dragons are sun-worshippers from the Australian outback. They evolved in the dry interiors of Australia, where intense desert sun shaped their physiology. Understanding their Australian origins helps explain their evolutionary adaptations to arid environments. Replicating that intense, radiant desert sun inside a glass box is your daily mission. Their digestion, immune system, and overall energy levels depend on it.
Your Basking Light and Temperature Zone
Your dragon needs a temperature gradient, meaning a hot side and a cool side. This allows them to thermoregulate, moving between temperatures as their body needs. Remember: nighttime temperatures should not be too cold. Keeping night temps in a safe range helps ensure your dragon can thermoregulate overnight.
You will create this with a simple, white incandescent heat bulb in a dome lamp fixture. Do not use colored bulbs at night; they can disrupt their sleep cycle.
- Basking Spot Surface Temperature: 100-110°F for babies, 95-105°F for adults. Measure this with a digital probe thermometer placed directly on the basking surface.
- Cool Side Ambient Temperature: This should sit around 75-85°F during the day.
- Nighttime Temperature: Can safely drop to 65-75°F. You only need a heat source at night if your house gets colder than 65°F, in which case use a Ceramic Heat Emitter (CHE) as it produces no light.
I check my temperatures every single morning with a reliable digital thermometer; guessing is not an option when their health is on the line. The basking spot itself should be a sturdy, flat rock or piece of slate that retains heat, giving them a perfect place to pancake out and digest their food.
The Critical Role of UVB Lighting
If heat is for digestion, UVB is for life itself. In the wild, they bask under the sun, which provides ultraviolet B rays. This light allows them to synthesize vitamin D3, which is essential for absorbing calcium.
Without proper UVB, they will develop Metabolic Bone Disease (MBD), a painful and crippling condition that is entirely preventable.
You have two main options, and I strongly recommend the first one:
- Tube-style UVB Fixture: This is the gold standard. You need a linear fluorescent tube (like a T5 HO) that spans about half to two-thirds the length of the tank. A 10.0 or 12% UVB output bulb is perfect for desert species.
- Compact/Coil UVB Bulbs: I avoid these. Their output is often too weak and doesn’t cover a wide enough area, creating unhealthy UVB “hot spots.”
The UVB fixture should be mounted inside the tank, just above the mesh screen, alongside your basking light. This creates a sun-soaked zone where your dragon can get heat and UVB simultaneously, just like in nature. In a complete bearded dragon lighting guide, pair this with a consistent heat lamp and establish a 10-12 hour daily light cycle to mimic day and night. This helps regulate metabolism and activity. Replace the UVB bulb every 6-12 months, as its invisible output degrades over time long before the bulb burns out.
Furnishing Your Dragon’s Vivarium
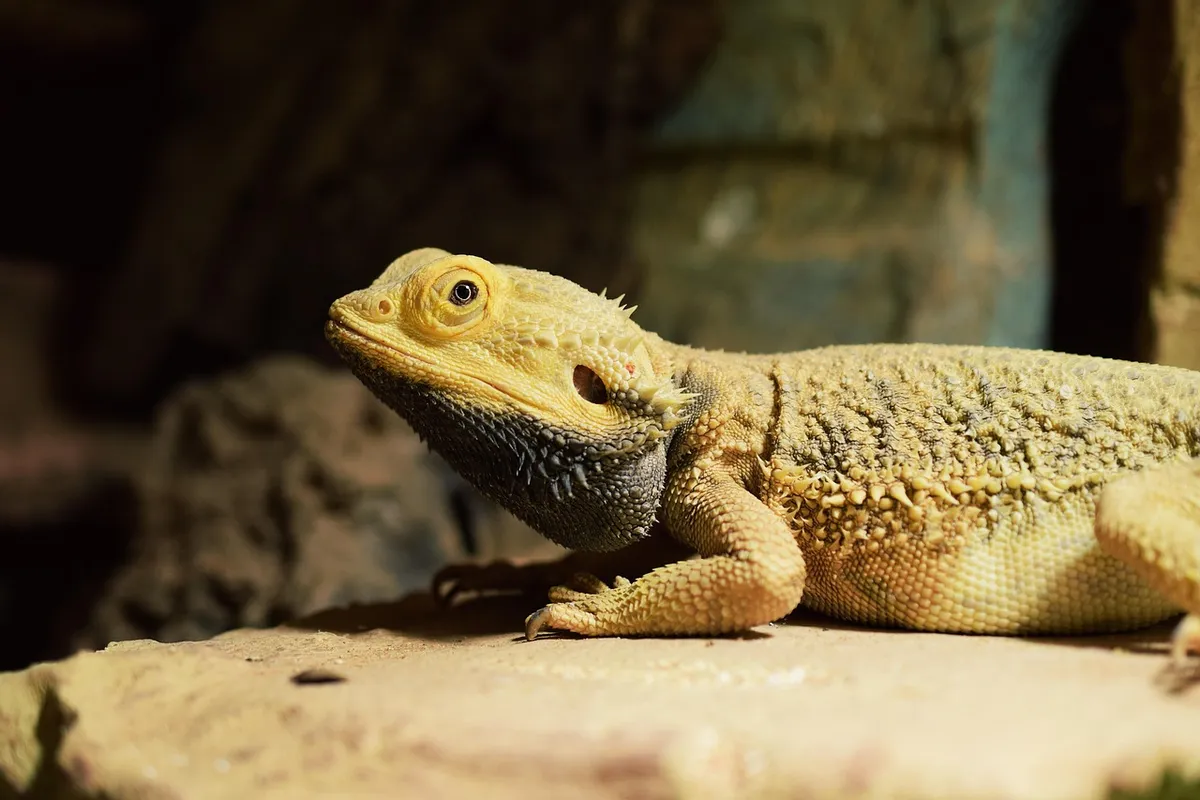
Setting up the tank is where the real fun begins. This is where you transform a sterile glass box into a proper home. Getting the interior design right is critical for your dragon’s physical health and mental well-being. I’ve found that a thoughtfully arranged space makes for a much calmer, more active pet.
Essential Decor: Basking Spots, Hides, and Branches
Think of your dragon’s tank as a miniature desert landscape. They need variety and options to truly thrive. A bare tank is a stressed dragon.
Here is your non-negotiable shopping list for vivarium furniture:
- A Sturdy Basking Platform: This is arguably the most important piece. Your dragon needs to get within 6-8 inches of the heat lamp. I always use a flat piece of slate or a wide, sturdy branch. It absorbs heat and provides a perfect, comfortable spot for digesting meals.
- Two Hides (One for Each End): Dragons feel secure when they have a place to retreat. You need one hide on the warm end and one on the cool end. This lets them feel safe no matter what their temperature needs are. A simple, opaque cave from the pet store works perfectly.
- Climbing Branches and Rocks: These guys are more agile than they look! Providing branches and stacked rocks encourages natural climbing behavior and exercise. Just make sure everything is stable and won’t topple over onto them.
- A Hammock (The Fun Extra): While not strictly essential, nearly every bearded dragon I’ve owned has adored their hammock. It’s a favorite basking and lounging spot. Get one made from reptile-safe material, not string, to prevent tiny toes from getting caught.
Arrange your decor to create a temperature gradient. The basking spot should be directly under the lamp, with branches leading to cooler, shaded areas below. This setup allows your dragon to self-regulate its body temperature throughout the day, which is vital for its metabolism.
Selecting a Safe Substrate
This is the floor of your dragon’s home, and the topic can be a bit of a minefield. The wrong choice can lead to serious health issues like impaction, where their digestive system gets blocked.
For baby and juvenile bearded dragons, the rule is simple.
- Stick with solid, non-particle substrates. Their hunting instincts are strong, and they are clumsy. They will accidentally eat loose bedding, which is dangerous.
My top recommended safe options for beginners and young dragons are:
- Slate or Ceramic Tile: This is my personal favorite. It’s easy to clean, files down their nails naturally, and holds heat beautifully from the basking lamp.
- Reptile Carpet: A very popular and safe choice. Get two pieces so you can have one clean and ready to swap in on cleaning day. Just check for loose threads that could snag a claw.
- Paper Towel or Butcher Paper: Don’t underestimate this cheap and ultra-safe option. It’s perfect for quarantine periods or if you’re ever worried about your dragon’s health and need to monitor its droppings closely.
What about loose substrates like sand? I advise beginners to avoid calci-sand and pure sand entirely. It poses a significant impaction risk if ingested. While some experienced keepers use a soil/sand/clay mix for a more naturalistic “bioactive” setup, that’s an advanced project. For your first dragon, a solid substrate is the safest, most responsible choice you can make.
The Daily Care Kit: Food, Hydration, and Supplements
Getting the habitat right is only half the battle. The real magic of bearded dragon care happens every single day when you offer them food and water. Their long-term health is built one nutritious meal at a time. If you’re considering vacation care, hand-feeding can help you monitor appetite and ensure they get enough food while you’re away. It can also reduce stress during meals when routines change, but safety and hygiene are essential.
Building a Balanced Diet
Think of your bearded dragon’s diet like a pie chart that changes as they grow. I’ve raised several from tiny juveniles to impressive adults, and nailing their diet is the most common place new owners struggle, especially when considering their growth patterns.
Here’s the simple breakdown I follow:
- Baby & Juvenile Dragons (0-12 months): Their diet is about 80% live insects and 20% fresh greens. They are growing machines and need that protein!
- Adult Dragons (12+ months): This flips completely. Their diet should be about 80% fresh salad and 20% insects. This prevents obesity and liver issues.
Staple Insect Feeders
Not all bugs are created equal. You want nutritious staples that form the core of their protein intake.
- Dubia Roaches: My absolute top choice. They are packed with protein, not too fatty, and can’t climb smooth surfaces.
- Black Soldier Fly Larvae (Nutrigrubs): A fantastic choice. They are high in calcium and wiggly, which drives dragons wild.
- Crickets: A classic, but they smell, can be noisy, and require more upkeep. I use them as a rotation option, not a sole staple.
Salad Greens & Veggies
This is where you can get creative. A dull salad leads to a hungry dragon. A colorful, varied salad is the key to a healthy, interested eater.
- Daily Greens: Collard greens, dandelion greens, mustard greens, and escarole.
- Great Mix-Ins (2-3 times a week): Butternut squash (shredded), bell peppers (any color), and snap peas.
- Occasional Treats: Blueberries, raspberries, and mango (in tiny amounts).
Foods to Completely Avoid
Some common foods are toxic or very hard for them to digest. I keep a list on my fridge as a reminder.
- Iceberg Lettuce (it’s all water, zero nutrition)
- Avocado (toxic)
- Rhubarb (toxic)
- Fireflies (extremely toxic, always supervise outdoor time)
- Spinach and Beet Greens (they bind calcium)
The Non-Negotiable Supplement Schedule
Even the best diet isn’t enough on its own. In captivity, they need our help to get specific vitamins and minerals. Proper supplementation is the cheapest and easiest form of preventative healthcare you can provide.
You need two main powders:
- Calcium with D3: This is crucial for bone development and preventing Metabolic Bone Disease (MBD), a common and devastating illness.
- A Multivitamin: This fills in any other nutritional gaps, providing Vitamin A and other essentials.
Here is the simple dusting schedule I’ve used for years with perfect results:
- For Juveniles: Dust insects with calcium powder (with D3) at one feeding every single day. Dust with a multivitamin at one feeding, two days a week.
- For Adults: Dust insects with calcium powder (with D3) at 2-3 feedings per week. Dust with a multivitamin at one feeding, one day a week.
A little pro-tip: I keep my supplement powders in small, labeled salt shakers. It makes dusting the insects quick, easy, and mess-free.
Hydration: More Than Just a Water Bowl
Bearded dragons are desert animals and often won’t recognize a still water bowl. Dehydration is a silent enemy that can cause serious impaction and kidney stress. If you’re wondering whether my bearded dragon is dehydrated, focus on the seven critical signs to look for. Common early cues include lethargy, sunken eyes, and wrinkled or dry skin—seek a vet if you spot any of them.
You have a few effective options to keep them hydrated:
- Daily Salads: The fresh greens you feed are a primary source of water. This is why a daily salad is non-negotiable.
- Misting: Gently mist your dragon’s nose and salad with water. They will often lick the droplets right off.
- Bathing: A warm, shallow bath (up to their shoulders) 1-2 times a week encourages them to drink and can aid with shedding.
- Dropper Training: I’ve taught all my dragons to drink from a plastic dropper. It’s a surefire way to know they’re getting water.
Monitoring and Maintenance Essentials
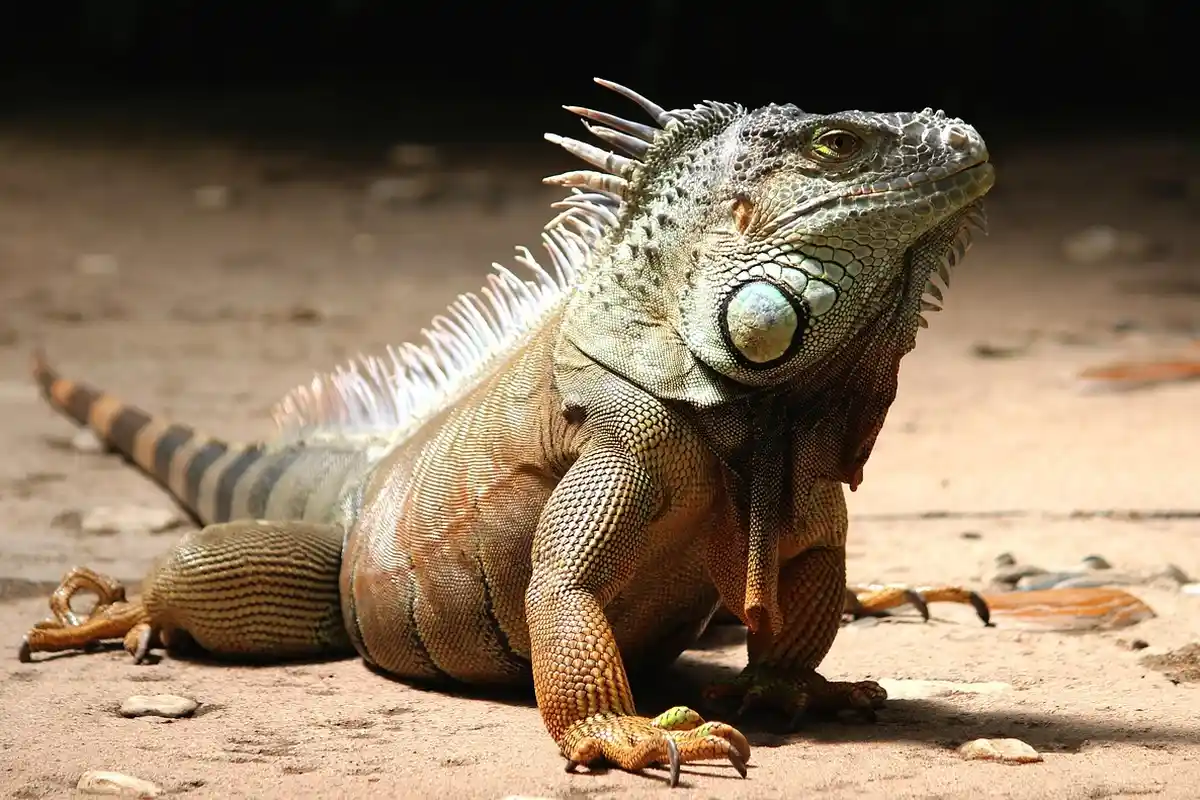
Getting the initial setup right is a huge win, but the real secret to a thriving dragon is in the daily details. Consistent monitoring is what separates okay care from exceptional care, and it’s a habit that will quickly become second nature. I learned this the hard way with my first dragon, Pascal, when a slight humidity spike led to a minor respiratory scare. It was a powerful lesson in proactive, not reactive, pet parenting.
Keeping Track of Temperature and Humidity
Your bearded dragon’s health is directly tied to their environmental conditions. They can’t regulate their body temperature like we can, so they rely on you to provide the perfect climate. Guessing the temperature is a gamble you should never take with your pet’s well-being. This is especially important since bearded dragons are cold-blooded and depend on external heat sources.
I strongly recommend against the cheap, round analog gauges that stick to the glass. They are notoriously inaccurate. Instead, invest in digital tools. Here is what you need for precise monitoring:
- Digital Thermometer with Probe: This is your best friend. Place the main unit on the cool side and run the probe to the very center of the basking spot. This gives you the true surface temperature your dragon feels.
- Digital Hygrometer: This measures humidity. Place it midway up the wall on the cool side of the enclosure for the most accurate ambient reading.
- Infrared Temperature Gun: This is my personal favorite tool. You can point and shoot to instantly check the temperature of any surface-the basking platform, a hide, even your dragon’s back!
Your tank should have three distinct temperature zones. Check these spots daily:
- Basking Surface: 95-110°F (35-43°C) for adults. Juveniles often prefer the higher end of this range.
- Cool Side: 75-85°F (24-29°C). This is their retreat to cool down.
- Nighttime: 65-75°F (18-24°C). No lights or heat sources should be used at night unless your home drops below 65°F, in which case a ceramic heat emitter is safe.
For humidity, aim to keep it between 30% and 40%. Consistently high humidity is a major risk factor for respiratory infections, which are stressful and costly to treat. If your readings are too high, improve ventilation or use a smaller water bowl. If it’s too low, a very light misting of the greens in the salad bowl can help.
Understanding Your Bearded Dragon Setup Cost
Let’s talk about the financial side of bringing home a new scaly friend. The initial setup is your biggest investment, but getting it right the first time saves you money and stress down the road. Based on my own experience setting up tanks for my crew, I can give you a realistic breakdown.
Initial Setup Investment
Think of this as a one-time startup cost for your dragon’s health and happiness. You’re building their entire world from scratch.
- Enclosure (Tank): A proper 120-gallon tank is the non-negotiable foundation. Prices vary wildly! You can find them for $250-$500 new, but I always check local marketplaces for second-hand deals.
- Lighting & Heating: This is where you shouldn’t cut corners. A quality Reptisun or Arcadia UVB tube light fixture and bulb will run about $80-$120. You’ll also need a basking bulb, fixture, and a thermostat to control it all, adding another $60-$100.
- Substrate: For beginners, I strongly recommend simple tile or reptile carpet for safety. This is a smaller cost, around $20-$40.
- Decor & Hides: Rocks, branches, and at least two hides (one for the warm side, one for the cool side) are essential for their mental well-being. Budget around $50-$100 to make the tank feel like home.
- Food & Water Dishes: Simple, sturdy ceramic dishes are best. This is a minor cost of about $15-$25.
- Essential Tools: You’ll need at least two digital thermometers and a hygrometer to monitor temperatures and humidity. Set aside about $30-$50 for these.
A complete, quality beginner setup typically totals between $500 and $800 if you buy everything new. It seems like a lot, but this investment ensures your dragon thrives from day one.
Ongoing Monthly Expenses
After the initial setup, the monthly costs are more manageable but still require planning. Your dragon’s appetite will surprise you!
| Item | Estimated Monthly Cost |
|---|---|
| Live Insects (Crickets, Dubia Roaches, etc.) | $30 – $60 |
| Fresh Greens & Vegetables | $20 – $40 |
| Calcium & Vitamin Supplements | $5 – $10 |
| Electricity for Lights & Heat | $10 – $20 |
| Total Estimated Monthly Cost | $65 – $130 |
Pro Tip: Breeding your own feeder insects like Dubia roaches is a fantastic way to cut down on the biggest recurring cost. I started a small colony years ago, and it has saved me a small fortune.
Budget-Friendly Tips Without Compromising Care
Caring for an animal properly doesn’t always mean buying the most expensive item. Smart shopping and a little DIY can make a huge difference to your wallet.
- Look for second-hand enclosures. Just be sure to clean and disinfect them thoroughly with a reptile-safe cleaner like F10.
- Use slate tiles from a hardware store for substrate. They are cheap, easy to clean, and file down your dragon’s nails naturally.
- Collect branches and rocks from outside. Bake branches in the oven at 250°F for an hour and scrub rocks with a vinegar solution to sterilize them.
- Buy feeder insects in bulk online. It’s significantly cheaper than buying tiny containers from a pet store every week.
Remember to also set aside a small fund for potential vet visits. Unexpected health issues are the one cost you can’t truly budget for, so a little savings goes a long way for your peace of mind.
Safety First: Common Beginner Setup Mistakes
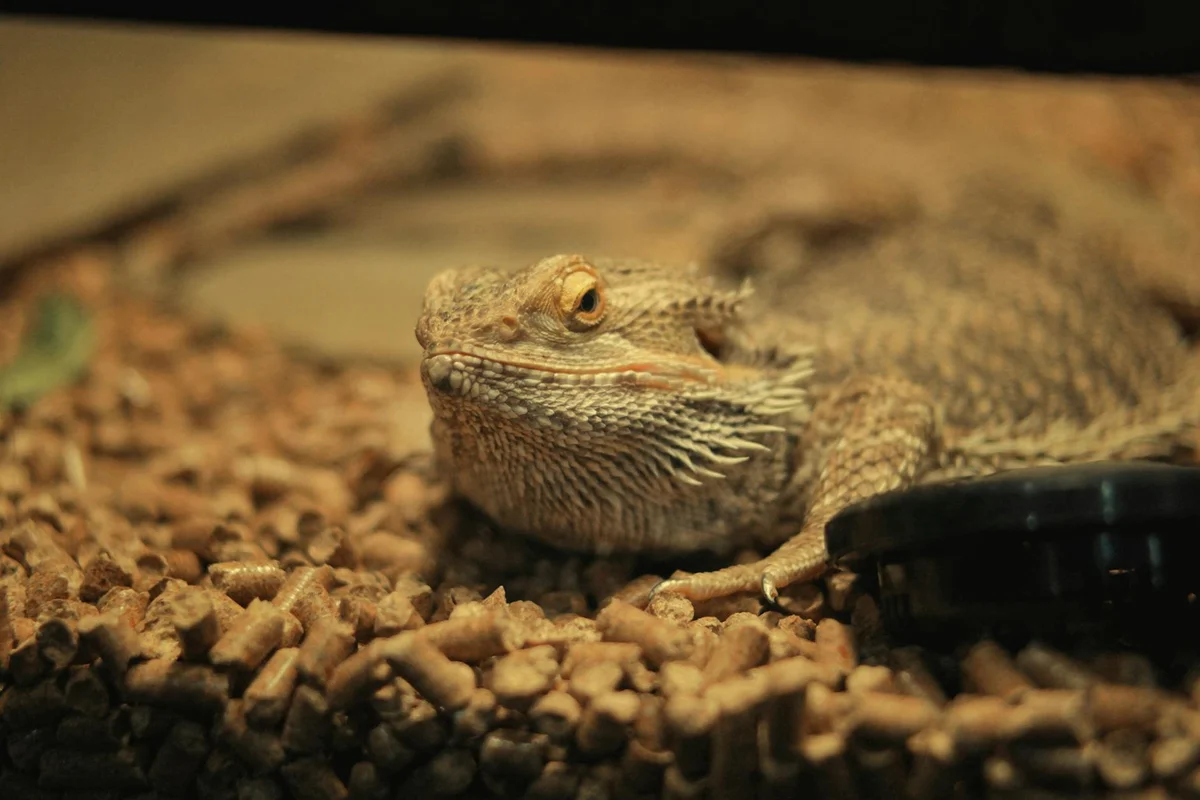
I’ve seen it all, from tiny starter kits to well-intentioned but dangerous DIY projects. Getting the setup wrong isn’t just inconvenient; it can directly impact your dragon’s health and happiness. Let’s walk through the most common pitfalls so you can avoid them from day one.
Mistake 1: Using Loose, Dangerous Substrate
New owners often grab the first bag of sand or wood chips they see. This is a huge risk.
- Calcium Sand: It’s marketed for reptiles, but it’s a trap. Bearded dragons may lick it for the calcium, causing a fatal gut impaction.
- Fine-Grain Sand & Walnut Shells: These can cause impaction and harbor bacteria. I made this mistake once, and my dragon, Puff, got very sick. Never again.
Your best bet is to start with a solid, easy-to-clean substrate like tile, newspaper, or paper towel. It’s safer and makes your life much easier.
Mistake 2: Getting the Wrong Sized Enclosure
That cute 20-gallon tank seems fine for a baby, but it won’t last.
- A baby will outgrow a small tank in months, causing you to spend more money.
- An adult dragon needs space to roam, thermoregulate, and exhibit natural behaviors.
Go big from the start with a 4x2x2 foot (120-gallon) enclosure. It saves you money and stress down the line.
Mistake 3: Inadequate Heating & Lighting
This is the technical part where most beginners slip up. Your dragon depends on you to get this right.
- No Thermometers: Guessing the temperature is a recipe for disaster. You must have digital probe thermometers on both the warm and cool sides.
- Using “Hot Rocks”: These are notorious for causing severe thermal burns. A dragon’s belly is sensitive. Please, never use a hot rock.
- Skipping the Timer: Your dragon needs a consistent day/night cycle. An automatic timer for your lights is non-negotiable for their stress levels.
Mistake 4: Poor UVB Bulb Placement
UVB is not optional; it’s how your dragon metabolizes calcium. Without it, they develop Metabolic Bone Disease (MBD), a painful and crippling condition.
- Using Coil/Compact Bulbs: These do not provide adequate coverage. You need a long, tube-style UVB fixture that spans about half the tank’s length.
- Placing it Wrong: The UVB bulb must be placed next to your heat lamp, not at the opposite end. This creates a proper basking zone where heat and UVB overlap, just like the sun.
- Forgetting to Replace It: UVB bulbs lose their potency long before they burn out. Mark your calendar to replace them every 6-12 months.
Frequently Asked Questions
What is the total cost for a beginner bearded dragon setup?
For a complete, quality setup including a proper 120-gallon tank, lighting, heating, and decor, you should budget between $500 and $800 if buying everything new. Ongoing monthly costs for food and electricity typically range from $65 to $130.
Are bearded dragon setup kits from pet stores a good buy?
Most all-in-one kits are inadequate for an adult bearded dragon, as they often include tanks that are too small and low-quality or incorrect lighting. It is generally better and more cost-effective to purchase each essential component separately to ensure your pet’s long-term health. A bearded dragon tank setup guide covers essential equipment, decor, and safety considerations to help you build a healthy habitat.
Is Reddit a good resource for bearded dragon setup ideas?
Yes, subreddits like r/BeardedDragons can be excellent for seeing real-life setup photos and getting advice from a large community of owners. However, always verify any care advice you find with reputable care guides or a veterinarian, as information can sometimes be conflicting or anecdotal.
You’re Ready for Your New Friend!
Getting everything on this list might feel like a big task, but I promise it’s worth it. Your main focus should be on nailing the habitat basics: a properly sized tank, a reliable temperature gradient, and the right UVB lighting. These three elements are the absolute foundation of your bearded dragon’s health and happiness. For a complete plan, you can follow a Thrive Complete Care checklist that covers feeding, hydration, handling, and enrichment.
From my own experience, the initial setup is a labor of love that pays off for years. With this complete setup, you’re not just buying supplies; you’re building a safe and enriching home where your new pet can truly thrive. You’ve got this!
Further Reading & Sources
- Bearded Dragon Tank Setup 101: How to Create the Best Home for Your Ne – Dragon’s Diet
- Bearded Dragon Setup Guide – Expert Tips
- How to setup a Bearded Dragon Enclosure
Bearded Dragon Lair is the ultimate resource for bearded dragon enthusiasts, offering expert advice and practical tips to ensure the health and happiness of your scaly companion. With years of experience in reptile care, we are dedicated to providing accurate, up-to-date information to support your bearded dragon journey.
Essential Gear