
How to Incubate Bearded Dragon Eggs: Temperature and Humidity Guide
Seeing those first bearded dragon eggs can be thrilling, but getting the incubation environment wrong is a fast way to heartbreak.
I’ve hatched many clutches myself, and I’ll help you navigate this critical stage using proven, reptile-safe methods.
We’ll cover the precise temperature and humidity ranges you need, how to set up your incubator correctly, and the common mistakes you must avoid for a successful hatch.
Preparing for Bearded Dragon Egg Incubation
Getting everything ready before incubation starts is your first big step toward hatching success. I always take my time with setup because a clean, stable beginning makes all the difference for those delicate eggs. After your female lays her clutch, handle each egg with extreme care to avoid rotating them-this can dislodge the embryo inside.
Here is a quick checklist of items you will need gathered and sterilized:
- An incubator (DIY or store-bought)
- Vermiculite or perlite substrate
- A reliable humidity monitor
- Small plastic containers with lids
- Disposable gloves for handling
- A bright flashlight for candling
Egg clutch management means moving the eggs as little as possible from where they were laid. Use a soft spoon or your fingers to lift them, and place them in the substrate exactly as you found them-do not turn them over. I keep a dedicated, clean workspace to prevent introducing bacteria.
Assessing Egg Viability and Health
Candling is your best friend for checking which eggs are fertile. In a dark room, shine a bright light through each egg to look for a network of pinkish veins and a small dark spot—the embryo. Healthy eggs feel firm and have a consistent, off-white color. Spotting fertility and pregnancy signs early through candling can help you manage the clutch. If you see a network of veins and a dark spot, the egg is fertile; eggs that remain translucent or lack veins are typically infertile.
Non-viable eggs often appear yellowish, collapsed, or completely clear when candled. If you spot mold or a foul smell, remove that egg right away to protect the rest of the clutch. From my experience, discarding bad eggs early prevents heartbreak later.
Essential Supplies for Incubation
Your supply list does not need to be long, but each item matters. Sterile conditions are non-negotiable-I wash all containers and tools with a reptile-safe disinfectant before use. Moisture-retaining substrates are key because they help maintain humidity around the eggs.
- Incubator: Keeps temperature and humidity steady
- Substrate: Holds water to create a moist environment
- Humidity monitor: Tells you if the air is too dry or wet
- Containers: Give each egg a little space of its own
Vermiculite and perlite are the top substrate choices. I lean toward vermiculite for its ability to hold moisture evenly, which reduces the risk of eggs drying out. Both need to be mixed with water correctly to work well.
Choosing Between Vermiculite and Perlite
Vermiculite is like a sponge-it soaks up water and releases it slowly. Mix one part vermiculite with one part water by weight for a substrate that feels damp but not soggy. It is less dusty and holds its shape, making it easier to manage.
Perlite is lighter and provides better drainage. Use a 1:1.5 ratio of perlite to water, and you will notice it feels fluffier and less compact. However, perlite can be messier and may need more frequent checks to keep humidity stable.
I have used both over the years and found vermiculite more forgiving for new breeders. Whichever you pick, ensure it is sterile to guard against mold that can quickly ruin a clutch.
Setting Up Your Bearded Dragon Egg Incubator
A proper incubator setup mimics the steady warmth and moisture of a burrow. Your goal is to avoid sudden changes-eggs thrive on consistency, not surprises. Place the incubator in a quiet spot away from doors, windows, or heat sources that cause temperature swings.
Insulation helps maintain a stable internal climate. I often wrap DIY incubators in towels or place them inside a larger box to buffer against room temperature changes. Avoid opening the lid too often; every peek lets humidity escape and can stress the developing embryos.
DIY Incubator Options
Building your own incubator can be cost-effective and rewarding. I have hatched many clutches using a simple Styrofoam cooler with a heat mat attached to the inside wall. This method works well if you are diligent about monitoring.
- Select a Styrofoam box and cut a small hole for air flow.
- Attach a low-wattage heat mat to one side, not directly under the eggs.
- Place a container with moist substrate and eggs inside.
- Use a digital thermometer and hygrometer to check conditions daily.
Keep a water dish inside to help with humidity. This setup requires your attention, but it teaches you a lot about how temperature and humidity interact.
Commercial Incubator Setup
Store-bought incubators offer more precision and less guesswork. Always pre-heat your commercial incubator for a full day before adding eggs to ensure everything is stable. Calibrate the built-in thermometer and hygrometer with a separate device to confirm accuracy.
- Follow the manufacturer’s instructions for initial setup and calibration.
- Add your substrate-filled container, making sure it sits level.
- Set the temperature between 84°F and 88°F (29°C to 31°C).
- Adjust humidity to stay around 70% to 80%.
Gently place eggs on the substrate without burying them. I leave a little space between each egg to promote air circulation and reduce mold risk. Trust the incubator to do its job, and resist the urge to constantly adjust settings.
Managing Incubation Temperature and Humidity
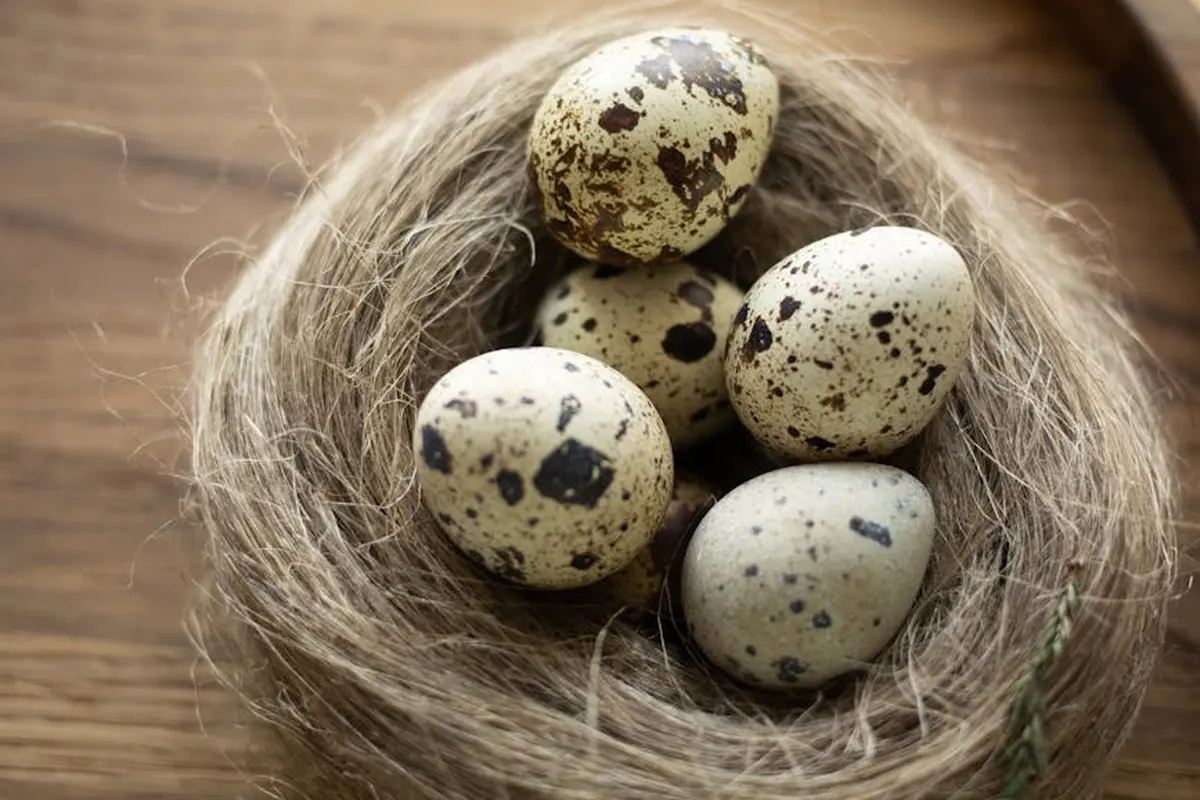
Getting the climate right inside your incubator is like creating a cozy, predictable spring day for your bearded dragon eggs—it needs to feel just right, day after day. In my own setups, I aim for a steady temperature between 80°F and 85°F and keep humidity locked in at 70% to 80% relative humidity. Think of it as mimicking the warm, moist sand of their natural burrows; consistency is your best friend here to avoid shocking those delicate embryos. This aligns with a bearded dragon humidity guide for ideal levels, emphasizing careful control and regular maintenance. Regular monitoring and simple adjustments help keep those target numbers steady.
You will need to keep a close eye on these levels and make small tweaks as needed. I rely on a simple routine of checking my digital devices twice a day-once in the morning and once at night-to catch any drifts early. If humidity drops, I lightly mist the substrate with dechlorinated water; if it climbs too high, I crack the incubator lid for a short while to let excess moisture escape.
Optimal Temperature Range for Bearded Dragon Eggs
Temperature acts as the conductor of your incubation symphony-it dictates how quickly development unfolds and impacts the vitality of your future hatchlings. Straying outside the 80-85°F window can lead to longer incubation times or even health issues like lethargy in the babies. I have seen eggs hatch perfectly at 82°F after about 60 days, but a spike to 90°F might rush them out underdeveloped.
Avoiding temperature swings is non-negotiable for embryo health. Place your incubator away from direct sunlight, drafts, or heat vents to maintain a stable environment that doesn’t stress the eggs. Even a few degrees of fluctuation can disrupt cell division, so I always use a backup thermometer as a safety net.
Controlling Humidity Levels
Humidity keeps the eggs plump and hydrated, much like a damp sponge that slowly releases moisture. To maintain substrate moisture, I use a mix of vermiculite and water that feels like a wrung-out sponge-damp but not dripping. Overly wet conditions invite mold, while dryness causes the eggs to collapse; I check the substrate weekly and remix if it feels too dry or soggy.
Your humidity monitor is your eyes inside the incubator. Adjust levels by adding water to the substrate or increasing ventilation to prevent mold or dehydration from ruining your clutch. I once lost a few eggs to fuzzy white mold because I let humidity creep above 85%; now, I act fast at the first sign of condensation buildup.
Tools for Accurate Monitoring
Trustworthy tools take the guesswork out of incubation and help you provide the best care. I always recommend digital hygrometers and thermometers with probes because they give precise, real-time readings without lag. Analog gauges can be unreliable, leading to risky assumptions about your incubator’s climate.
- Digital hygrometer: Tracks humidity with high accuracy.
- Digital thermometer: Monitors temperature continuously.
- Backup battery-powered device: Ensures monitoring during power outages.
Placement matters as much as the device itself. Position sensors at egg level, away from direct heat sources or water dishes, to get a true reading of what the embryos experience. I mount mine on the side of the incubator, ensuring they do not touch the eggs or substrate.
Daily Care and Monitoring During Incubation
Your daily routine should be gentle and observant, like quietly watching over sleeping infants. I check my eggs once a day, usually during feeding time for my adult dragons, to note any changes without causing stress. Look for subtle signs like a slight increase in egg size or a healthy white color—these indicate all is well inside. To tell if your bearded dragon is healthy, follow a complete health check guide. It outlines daily checks and when to seek veterinary advice.
Handling should be minimal to prevent jarring the embryos. If you must move an egg, do so with clean, dry hands and support it from below to avoid rotating or shaking it. I keep a simple logbook to record weight, color, and any concerns; this helps me spot patterns and troubleshoot issues early.
- Frequency: Inspect eggs daily for mold, discoloration, or collapse.
- Gentle handling: Lift eggs only if necessary, using a cupped hand.
- Signs of development: Note veining through candling or uniform weight.
Egg Candling and Development Checks
Candling lets you peek inside the egg without disturbing the growing life. I use a small, bright LED flashlight in a dark room, holding it against the egg’s shell to look for pinkish veins spreading like tiny roots. Healthy eggs show a network of vessels by week two, while yellow or clear patches often mean the embryo did not develop.
Interpreting what you see takes practice, but it is worth learning. Track progress by candling weekly; pink veins and a dark mass indicate a thriving embryo, while any foul smell or sinking suggests removal is needed. In my first clutch, I misread a slightly yellow egg as healthy-it later molded and taught me to trust the signs of life early on.
Handling and Turning Eggs
Unlike bird eggs, bearded dragon eggs rarely need turning—their embryos anchor to the shell and can be harmed by rotation. I advise against turning them unless they are accidentally displaced; if you must, gently roll them back to their original position within a day. This minimizes risk to the delicate blood vessels and membrane inside. Bearded dragons can lay multiple clutches in a season, with clutch sizes typically around twenty eggs each. Knowing the size and frequency helps with incubation planning and overall care.
Steps to avoid embryo damage focus on stability and care. Mark the top of each egg with a pencil when you first set them, so you can always return them to the same orientation if moved. I have found that a hands-off approach, combined with a stable incubator, gives the best hatch rates and healthy babies.
Troubleshooting Common Incubation Issues

Even with perfect preparation, things can sometimes go sideways. Don’t panic if you spot a problem; many issues are fixable if you catch them early and act calmly. I’ve had my share of scares over the years, and a steady hand often saves the day.
Dealing with Mold, Rot, or Low Viability
A moldy egg is a heart-sinking sight. It usually screams that the environment is too wet. High humidity is the most common culprit for fuzzy white or green mold growth on the eggshell. If you see it, first remove the affected egg from the incubator immediately to prevent spores from spreading to healthy eggs.
For a slightly moldy egg you still have hope for, you can try a gentle fix. I’ve carefully dabbed a cotton swab with a diluted athlete’s foot solution onto the moldy spot. Let it air dry for a minute before returning it to the incubator. This can sometimes halt the progress. If the egg is discolored, sunken, or smells bad, it’s non-viable. Toss it. A healthy egg should be white, plump, and feel firm.
Adjusting Temperature and Humidity Mid-Incubation
Your incubator’s readings will fluctuate, and that’s normal. The key is to avoid drastic corrections. If your temperature or humidity drifts, adjust it back slowly over several hours. A sudden change can shock the developing embryos.
If humidity is too low, add a small, warm water sponge to a dish inside the incubator. Too high? Crack the lid for just a few minutes to let some moisture escape, then reseal. Always have a backup digital thermometer/hygrometer inside the egg container as a failsafe. I keep one right next to my eggs for peace of mind.
| Symptom | Likely Cause | Immediate Solution |
|---|---|---|
| Mold on eggshell | Excessively high humidity | Remove egg, treat spot with diluted antifungal, or discard if severe. |
| Eggs collapsing/shriveling | Humidity is too low | Add a small source of warm water to the incubator to raise humidity gradually. |
| No vein development after 1-2 weeks (candle test) | Egg was never fertile or died early | Remove the non-viable egg from the incubator to prevent rot. |
| Temperature swings of more than 3°F | Faulty thermostat or incubator location | Check equipment, ensure it’s away from drafts/sunlight, and calibrate. |
Hatching and Immediate Post-Hatch Care

This is the most rewarding part of the entire journey. Watching a tiny bearded dragon enter the world never gets old, but your job isn’t over yet. Their first few days are critical for setting them up for a healthy life.
Recognizing Hatch Time and Emergence
Around day 50 to 80 of your bearded dragon’s pregnancy and egg-laying timeline, start watching like a hawk. You’ll first see a small slit or hole in the egg; this is called “pipping.” The baby uses a special egg tooth to make this first break. Then, the real waiting begins.
It can take 24 to 48 hours for a hatchling to fully emerge from its egg after pipping. You might see the egg wiggle or hear faint scratching sounds. Resist the urge to help! Pulling a baby out can sever its yolk sac and cause fatal bleeding. Intervene only if a baby is clearly stuck after 48 hours post-pip, and even then, only gently moisten the membrane around the slit with a warm, wet Q-tip to help loosen it.
Caring for New Hatchlings
Once a baby is out, leave it in the incubator for up to 24 hours. This allows it to absorb its yolk sac fully and gain strength. I move them to a simple paper towel-lined enclosure only when they are active and the sac is gone.
Their first home doesn’t need to be fancy. A 10 to 20-gallon tank is perfect. Key setup elements are non-negotiable:
- A basking spot of 105-110°F for digestion.
- A cool side around 80-85°F.
- Low-watt UVB lighting covering 2/3 of the enclosure.
- Small, shallow water dish and tiny hiding spots.
Offer food like pinhead crickets or tiny dubia roaches dusted with calcium on their second day. Don’t be alarmed if they don’t eat much for the first couple of days; they are still using their internal yolk for energy. Always wash your hands before and after handling these fragile newborns to keep them safe from germs.
Frequently Asked Questions
Where can I purchase an incubator suitable for bearded dragon eggs?
You can find reliable incubators at reptile specialty stores, online retailers like Amazon, or through breeder forums and associations. Look for models with precise digital controls for temperature and humidity to ensure stability. When you’re considering where to buy a bearded dragon, compare options from pet stores vs online breeders, and choose sources that provide health guarantees and clear care histories. This helps ensure you start with a healthy, well-socialized reptile.
How do I convert the incubation temperature from Fahrenheit to Celsius?
Use the formula Celsius = (Fahrenheit – 32) × 5/9; for example, 84°F converts to about 29°C. This helps ensure accuracy if your equipment uses different units.
What should I do if I accidentally rotate a bearded dragon egg?
Gently return it to its original position as soon as possible to prevent harming the embryo. Avoid further handling and rely on marking the top initially for orientation.
Wrapping Up
Getting your bearded dragon eggs to hatch successfully really boils down to two things: consistent warmth and the right amount of moisture in the air. Your main job is to provide a stable incubation environment, mimicking the steady conditions they would experience in a secure burrow. Keep that temperature dialed in and monitor humidity daily, especially since some eggs might be infertile.
From my own experience, the patience required is immense, but the reward of seeing those tiny noses pip through the eggshell is unforgettable. By focusing on these core elements, you give your future hatchlings the best possible start in life. You’ve got this.
Further Reading & Sources
- Bearded Dragon Egg Incubator Guide: 6 Easy Steps to Incubate Bearded Dragon Eggs
- Bearded Dragon Egg Care – Bearded Dragon Lady
- The Ultimate Guide to Incubate Bearded Dragon Eggs in a Reptile Incubator – Uboze Appliances
Bearded Dragon Lair is the ultimate resource for bearded dragon enthusiasts, offering expert advice and practical tips to ensure the health and happiness of your scaly companion. With years of experience in reptile care, we are dedicated to providing accurate, up-to-date information to support your bearded dragon journey.
Caring for Eggs